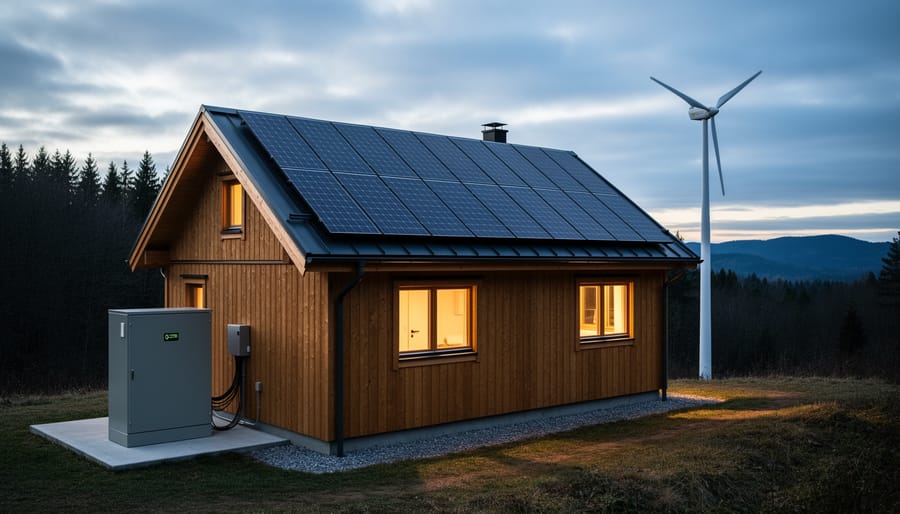
A solar energy off-grid system lets you generate and store your own electricity completely independent of utility companies, using photovoltaic panels to harvest sunlight, a battery bank to hold power for nighttime use, and a charge controller plus inverter to manage and convert that energy into usable household current. You’re not just trimming your electric bill. You’re severing the connection entirely, claiming full energy autonomy whether you’re running a remote cabin, a homestead in the backcountry, or simply choosing to legally live off grid in a location the power lines never reached.
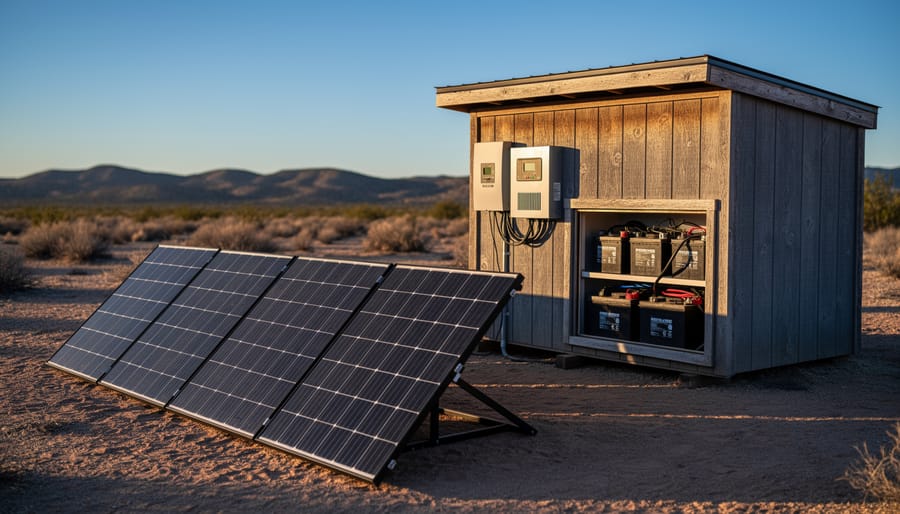
I helped a friend install his first system three years ago on a parcel of desert scrubland in New Mexico. We spent two days mounting panels on a homemade rack, wiring batteries in his shed, and triple-checking every connection before throwing the switch. That evening, when his lights came on without a single wire running to the road, the grin on his face said everything. He’d crossed a threshold most people only dream about.
The beauty of going off-grid with solar is that the technology has matured. Panels are more efficient and affordable than ever in 2026, batteries hold more charge per dollar, and the learning curve is manageable if you approach it methodically. You don’t need an engineering degree. You need to size your system to match your actual power consumption, choose components that work together, follow proper electrical safety protocols, and test everything before you rely on it.
This guide walks you through the entire process, from calculating your daily energy needs to flipping the final breaker. We’ll cover the tools and materials you’ll need, the safety considerations that keep you and your investment protected, and the step-by-step installation sequence that turns a pile of components into a working power system. By the end, you’ll know exactly how to build energy independence with your own hands.
Understanding Your Off-Grid Solar Power Needs
Before you can design a solar off-grid system, you need to know exactly how much power you’ll use. This isn’t guesswork. Start by listing every device you plan to run, from LED lights to your laptop, and record the wattage for each one. Check the label on each appliance or look up its specifications online. Then estimate how many hours per day you’ll actually use it. Multiply watts by hours to get watt-hours, and add everything up for your total daily consumption.
This calculation reveals the heart of your system requirements. Most system sizing methods recommend adding 20 to 25 percent to your daily total to account for inefficiencies in batteries and inverters. That buffer matters, especially during cloudy stretches when your panels produce less than their rated output.
Understanding the difference between essential and luxury loads changes everything. Essential loads keep you safe and functional: lighting, refrigeration for food, a water pump if you’re not on gravity-fed supply, and communication devices. Luxury loads make life comfortable but aren’t critical: entertainment systems, power tools, air conditioning. When you’re building your first system or working with a tight budget, design around essentials first. You can always expand later.
Common energy loads for off-grid living include:
- LED lighting: 5-15 watts per fixture, typically 3-5 hours daily
- Refrigerator/freezer: 100-400 watts running (varies by size and efficiency), 8-12 hours actual runtime due to cycling
- Water pump: 200-800 watts while running, 1-2 hours daily depending on usage
- Laptop and phone charging: 50-100 watts, 2-4 hours daily
- Small appliances (coffee maker, microwave): 600-1500 watts, 15-30 minutes daily
A contributor I know, Jake, learned this lesson the hard way at his Montana cabin. He calculated his needs based on summer use, running fans and charging devices. Come November, he added a small space heater and found his battery bank depleted by mid-afternoon. He hadn’t accounted for shorter winter days delivering half the solar production while his heating demand tripled. His system worked fine for eight months, then failed when he needed it most.
Seasonal variation in sunlight means you should size your system for your worst-case month, typically December or January in most of North America. Check solar resource maps for your location to find average sun-hours per day across the year. If you get six peak sun-hours in July but only three in January, your winter production drops by half even though your panels haven’t changed. Many who explore off-grid living ideas underestimate this seasonal swing and end up frustrated when their system underperforms during the darkest months.
Essential Components and Tools You’ll Need
Choosing the Right Solar Panels for Your Location
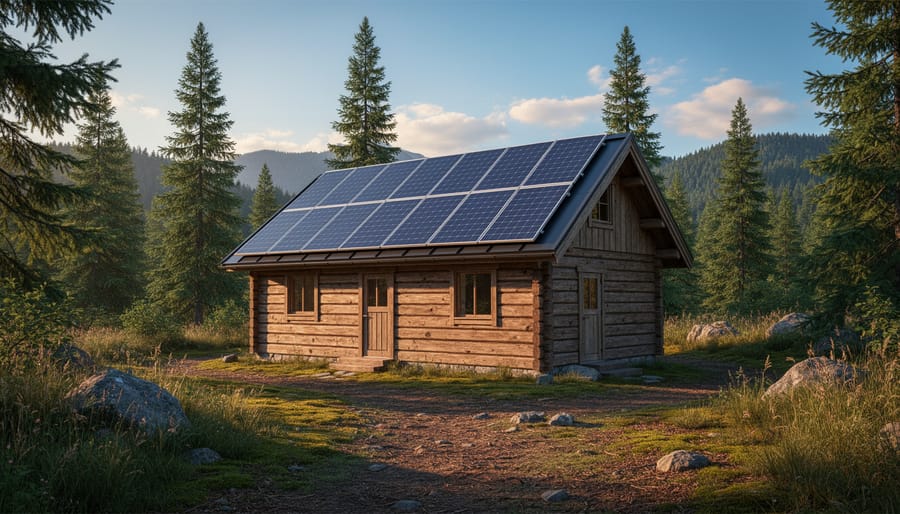
Your solar panels are the foundation of your off-grid system, and choosing the right type starts with understanding two main options. Monocrystalline panels feature a uniform black appearance and convert sunlight to electricity with 18-22% efficiency. They perform better in low-light conditions and occupy less space, ideal if your roof area is limited. Polycrystalline panels have a blue-speckled look and typically offer 15-17% efficiency. They’re more budget-friendly but require more square footage to generate the same power.
Sizing your array depends on your location’s peak sun hours, not just total daylight. A cabin in Arizona might receive six peak hours daily, while one in Washington averages three. If you need 3,000 watt-hours daily and get four peak sun hours, you’ll need at least 750 watts of panels (3,000 divided by 4), plus 25% extra to account for inefficiencies and cloudy days.
Mounting location matters significantly. Ground mounts offer easier installation, simpler maintenance, and adjustable angles to track seasonal sun shifts. Roof mounts save land space and often capture better sun exposure on south-facing slopes. Consider wind loads, snow accumulation, and whether you’re comfortable working at heights. Ground systems also allow future expansion without roof reinforcement.
Choose panels rated for your climate’s temperature extremes, performance drops in extreme heat or cold.
Battery Bank Selection: Storing Your Energy
Your battery bank is the heart of energy independence, it stores the power your panels generate during the day so you can use electricity after sunset and through cloudy periods. Choosing the right batteries involves balancing capacity, lifespan, and budget.
Battery Technology Options
Flooded lead-acid batteries remain popular for off-grid systems due to low upfront costs, but they require regular maintenance (checking water levels monthly) and proper ventilation since they release hydrogen gas during charging. Sealed AGM batteries eliminate maintenance and work in confined spaces, though they cost more per kilowatt-hour. Lithium iron phosphate (LiFePO4) batteries represent the premium choice, they last 3,000-5,000 cycles compared to 500-1,000 for lead-acid, occupy half the space, and handle deeper discharges without damage. That longevity often justifies the higher initial investment.
Sizing for Autonomy
Calculate your daily energy consumption, then multiply by the number of backup days you want. Most off-grid dwellers target three to five days of autonomy. If you use 5,000 watt-hours daily and want four days of backup, you need 20,000 watt-hours (20 kWh) of usable storage. Factor in depth of discharge, lead-acid should only discharge to 50% capacity, while lithium can safely reach 80-90%.
Temperature Considerations
Cold dramatically reduces battery performance. Lead-acid batteries lose about 20% capacity at freezing and won’t charge below 32°F without damage. If your battery bank lives in an unheated shed, insulate the enclosure or choose lithium batteries with built-in heating systems.
Safety First: Critical Precautions Before You Begin
Working with solar electricity demands respect, you’re dealing with live DC current that can deliver a serious shock, and batteries that store enough energy to cause burns, fires, or worse. Before you touch a single wire or climb onto your roof, understand that off-grid solar systems operate at voltages and currents capable of causing injury or death if mishandled.
The most common mistake beginners make is underestimating DC power. Unlike household AC current that alternates and can sometimes release its grip, direct current from solar panels and batteries can cause muscles to contract and hold onto the source. Always treat your system as live, even on cloudy days, panels generate voltage whenever light hits them. Before making any connections or modifications, disconnect batteries first using the proper sequence: negative terminal, then positive. Never work on a system that’s still connected to its power source.
Battery banks present hazards beyond electrical shock. Lead-acid batteries contain sulfuric acid that causes severe chemical burns on contact with skin or eyes. During charging, they release hydrogen gas, which is explosive in enclosed spaces. Install batteries in a ventilated area, never in a sealed room or airtight box. Keep metal tools away from terminals, a dropped wrench across battery posts creates an instantaneous arc that can melt metal and spray molten lead.
Roof installations add fall risks to electrical dangers. Use proper fall protection gear, work with a partner, and don’t attempt roof work in wet or windy conditions. If your installation requires working above eight feet, modifying your electrical panel, or connecting to existing home wiring, call a licensed professional. Some regions require permits and inspections for off-grid systems, check local codes before starting. The money you save by skipping professional help isn’t worth a fatal mistake.
Step-by-Step: Installing Your Solar Off-Grid System
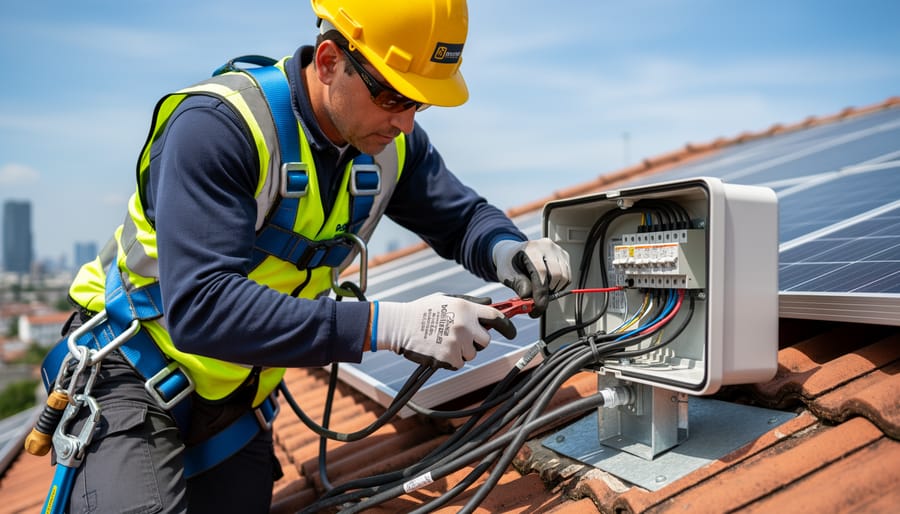
Positioning and Mounting Your Solar Array
The most critical decision you’ll make is where and how you mount your panels. In the Northern Hemisphere, a south-facing orientation maximizes year-round sun exposure, while Southern Hemisphere installations should face true north. Use a compass, not assumptions, magnetic declination varies by location and can throw off your alignment by several degrees.
Tilt angle determines how directly sunlight strikes your panels. Your latitude provides a starting point: panels angled at your latitude degrees capture optimal light at the equinoxes. For year-round systems, subtract 15 degrees in summer when the sun rides high, add 15 degrees in winter when it sits low on the horizon. Fixed installations work well at your latitude angle, but adjustable mounts let you tune performance seasonally.
Securing your array matters as much as positioning it. I learned this when a contributor’s seemingly solid roof mount shifted three inches during a windstorm, cracking two panels. Use lag bolts into rafters, not just roof sheathing. Ground mounts need concrete footings below the frost line, freeze-thaw cycles will heave shallow posts and twist your array out of alignment. Calculate wind load for your region and oversize your hardware. The goal isn’t just holding panels in place; it’s ensuring they stay perfectly positioned through years of weather without maintenance climbs.
Wiring Your System: Making Safe Connections
Wiring your solar system correctly isn’t just about making electricity flow, it’s about doing it safely and efficiently. I learned this the hard way during my first installation when I used wire that was too thin for the distance between my panels and controller, creating voltage drop that robbed me of precious power.
Start by calculating your wire gauge needs. The higher the current (amps) and the longer the distance, the thicker your wire must be. For a 10-amp charge controller 20 feet from your panels, 10 AWG copper wire works well. Run 50 feet with the same current? You’ll need 6 AWG to prevent dangerous heat buildup and power loss. Online voltage drop calculators make this math simple.
Understanding series versus parallel wiring affects both your voltage and current. Series wiring (positive to negative between panels) adds voltages while keeping current constant, ideal for higher-voltage charge controllers and long wire runs. Parallel wiring (all positives together, all negatives together) adds current while maintaining voltage, better for keeping system voltage low and matching certain controller types.
For connections themselves, use properly rated MC4 connectors for panel-to-panel links. Strip wire carefully without nicking the copper strands. Crimp terminal lugs firmly, a loose connection creates resistance, heat, and fire risk. Apply dielectric grease inside connections to prevent corrosion. Seal any outdoor junction boxes completely, and zip-tie cables away from sharp edges. Like items on your outdoor gear checklist, quality connectors and proper technique aren’t optional, they’re what keeps you safe and powered when you’re miles from help. Double-check every connection before energizing your system.
Setting Up Your Charge Controller and Inverter
With your panels wired and batteries in place, it’s time to bring your charge controller and inverter online, the brains of your off-grid system.
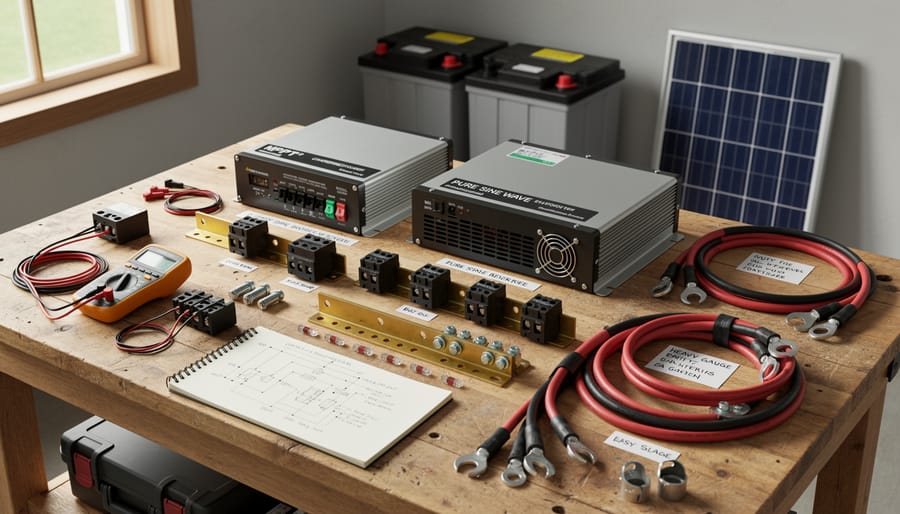
Start with the charge controller. Before connecting anything, check the manufacturer’s settings menu. You’ll need to program your battery type: flooded lead-acid, AGM, gel, or lithium. Getting this wrong means improper charging that can wreck expensive batteries. Next, verify the voltage settings match your system, 12V, 24V, or 48V. Most controllers have a simple button interface; cycle through until you see your battery chemistry displayed.
Once programmed, connect the controller to your battery bank first, then to the solar array. This sequence prevents voltage spikes. Watch the display, you should see battery voltage appear immediately, then solar voltage when panels connect.
For the inverter, pure sine wave models typically have switches for input voltage and AC output preferences. Set the low-voltage disconnect threshold to protect your batteries from over-discharge, usually around 11.5V for 12V systems.
The displays tell your system’s story. Flashing lights often indicate charging status: red means absorbing power, green shows float mode. Amperage readings reveal how much energy flows from panels to batteries. Learn these indicators like trail markers, they’ll guide you when troubleshooting later.
Testing Your System and Verifying Performance
With your panels mounted, batteries connected, and wiring complete, the next critical step is methodical testing before you start running your self-sufficient homestead on solar power. This verification process caught a potentially damaging wiring error on my first system, fifteen minutes of careful testing saved me from a costly mistake.
Start with your solar array on a clear, sunny day around midday when production peaks. Using a multimeter, measure the open-circuit voltage directly at the panel output terminals before connecting to your charge controller. You should see readings close to the panel’s rated voltage, typically 18 to 22 volts for a 12-volt panel, or 36 to 44 volts for a 24-volt panel. Significantly lower readings suggest a faulty panel or poor connection that needs addressing now, not after you’re relying on the system.
Next, connect your panels to the charge controller and monitor the display. You should immediately see current flowing to your batteries, measured in amps, and the battery voltage beginning to climb. A properly functioning charge controller will show the charging stage (bulk, absorption, or float) and adjust voltage accordingly. Watch for at least 20 minutes to confirm the controller responds correctly as battery voltage changes.
Test your inverter by connecting a simple load like a lamp or fan. Measure the AC output with your multimeter, it should read a steady 120 volts (or 230 volts for European systems) with minimal fluctuation. Turn the load on and off several times while watching both the inverter display and battery voltage. A healthy system will show a small voltage drop under load that recovers when the load is removed.
Finally, verify complete charge cycles over several days. Your batteries should reach full charge voltage (typically 14.4 to 14.8 volts for lead-acid) during peak sun hours, then the controller should switch to float mode (around 13.6 volts) to maintain charge without overcharging. If batteries never reach full charge or voltage drops rapidly without loads connected, you’ve either undersized your panel array or have a failing battery that needs replacement before you depend on this system.
Document these baseline readings, they’re your reference points for future troubleshooting and maintenance.
Living with Your Off-Grid Solar System: Maintenance and Optimization
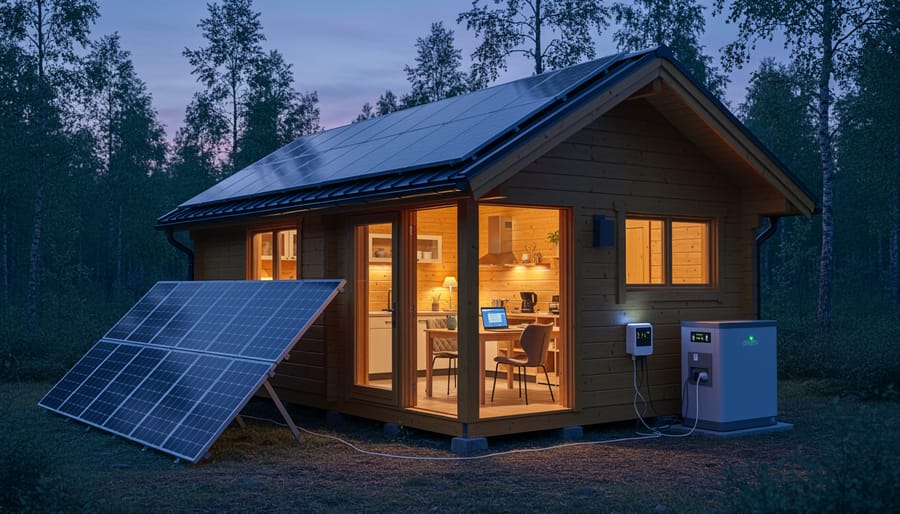
Your off-grid solar system is now powering your life, but like any relationship with nature-based systems, it thrives on attention and care. The good news? Maintenance is straightforward and becomes second nature once you establish a rhythm.
Start with a monthly walkthrough of your entire system. This routine catches small issues before they become expensive problems and keeps you connected to how your system performs across changing seasons. Much like tending a year-round food source your solar array rewards consistent care with reliable returns.
Your monthly and seasonal maintenance checklist should include:
- Inspect all electrical connections for corrosion, especially battery terminals where sulfate buildup appears as white or blue-green powder
- Clean panel surfaces with water and a soft brush, avoiding harsh chemicals that can damage anti-reflective coatings
- Check battery water levels if you’re using flooded lead-acid batteries, topping off with distilled water as needed
- Verify all mounting hardware and fasteners remain tight after wind events or seasonal temperature swings
- Monitor battery equalization cycles according to manufacturer recommendations
- Track daily energy production patterns to establish a baseline for detecting degradation
Panel cleaning frequency depends on your environment. Desert installations collect dust rapidly and benefit from monthly washing, while forested areas might need quarterly attention for pollen and bird droppings. Clean early morning or evening when panels are cool to prevent thermal shock from cold water on hot glass.
Seasonal adjustments maximize production throughout the year. In winter, tilt your panels steeper to capture low-angle sunlight and help snow slide off naturally. Summer allows a shallower angle. The difference between optimized and static angles can mean 15-25% more power during extreme seasons.
Battery care deserves special attention since batteries represent your largest replacement cost. Keep them at moderate temperatures when possible, extreme heat accelerates degradation while freezing can crack cases. Monitor voltage regularly; chronically undercharged batteries sulfate and lose capacity permanently.
Your charge controller logs provide valuable insights. Review them weekly to spot trends: declining panel output might indicate dirt buildup or shading from growing vegetation, while unusual battery behavior could signal a failing cell. Document your observations in a simple notebook. After a year, these patterns reveal your system’s personality and help you anticipate needs before problems arise.
Common Questions About Off-Grid Solar Systems
Winter looms as the biggest concern for first-time solar builders, and rightfully so. Your panels will still generate power during cold months, often quite efficiently, since solar cells actually work better at cooler temperatures. The challenge isn’t the cold; it’s the shorter days and lower sun angle. A system sized only for summer production will struggle when you’re getting five hours of weak sunlight instead of twelve. This is why we calculated for seasonal variations back in the planning stage. You’ll likely need to adjust your tilt angle steeper in winter to catch the low sun, and you might need to reduce your power consumption during December and January. I’ve watched friends who ignored this advice learn hard lessons when their batteries stayed at 60% charge through February.
The expansion question comes up constantly, and here’s the good news: you can absolutely grow your system over time. Start with enough capacity to meet your essential loads, then add panels and batteries as your budget allows or your needs increase. The key is planning ahead, buy a charge controller rated for more panels than you’re installing initially, and leave physical space for additional batteries. Just don’t mix old and new batteries in the same bank; the worn batteries will drag down the fresh ones. Add new capacity as a separate bank if needed, or replace the entire set when the time comes.
Do I need a backup generator with my solar system?
Most off-grid systems benefit from a small generator for extended cloudy periods or emergency situations, though it’s not strictly required if you’ve sized your battery bank for several days of autonomy. The generator becomes your insurance policy rather than a primary power source.
How long will my components last before replacement?
Quality solar panels typically maintain 80% output for 25-30 years. Charge controllers and inverters last 10-15 years with proper ventilation, while battery lifespan varies dramatically, from 3-5 years for flooded lead-acid to 10-15 years for lithium, depending on how well you manage charging cycles and temperature.
What happens during a week of cloudy weather?
This is exactly why we size battery banks for days of autonomy. A properly designed system should carry you through 3-5 overcast days, though you’ll need to reduce consumption and prioritize essential loads during extended periods without sun.
Can I run power-hungry appliances like air conditioners?
You can, but the system size and cost scale dramatically. A single air conditioner might require more panels and batteries than everything else in your cabin combined, which is why most off-gridders explore passive cooling and other backup power options before committing to that expense.
Cost remains the elephant in the room. A basic system providing lights, phone charging, and a small refrigerator might run you three to five thousand dollars. A setup powering a full household with modern appliances could easily reach fifteen to twenty thousand or more. The upfront investment stings, but there’s no monthly electric bill afterward, and federal tax credits currently cover 30% of the system cost. Most off-grid builders I know started small and expanded gradually, which spreads the financial impact and lets you learn the system before committing to a massive installation.
Building your own solar off-grid system isn’t just about generating electricity, it’s about reclaiming independence and deepening your connection to the natural world that powers it. Every time you flip a switch knowing that sunlight captured on your roof is delivering that power, you’re experiencing a fundamental shift in how you relate to energy and the land you live on.
The journey from planning to that first successful charge cycle teaches you more than technical skills. You learn to think in watts and amp-hours, yes, but you also become attuned to the arc of the sun across your property, the seasonal dance of light and shadow, and the weather patterns that define your region. This awareness changes how you move through your days, making you a participant in natural rhythms rather than just a consumer disconnected from the source.
Starting can feel overwhelming, especially when you’re staring at components spread across your workshop or contemplating working on a roof for the first time. That’s exactly where you should be. Every expert began as a beginner who took the first step despite uncertainty. Calculate your needs honestly, respect the safety protocols without exception, and don’t rush the learning curve. Mistakes made carefully and consciously become lessons that stick.
Your off-grid system will evolve as you do. Maybe you’ll start small with a basic setup and expand as your confidence grows. Perhaps you’ll discover efficiencies you never imagined or find yourself helping neighbors plan their own systems. The most important decision is to begin.
The sun rises tomorrow whether you harness it or not. Why not start building the system that turns that daily gift into your power source?